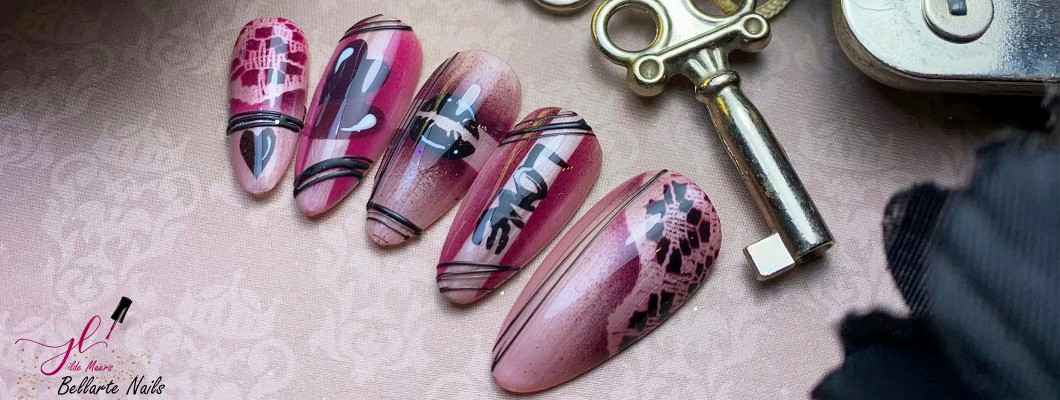
Airbrushing on articifial nails is a great way to create a unique and gorgeous look for Valentine's Day. With the right techniques and materials you can create beautiful, romantic designs that are perfect for this special occasion.
One of the first things to consider when airbrushing on articifial nails is choosing the right paint. Abstract® has different colors of airbrush paint available, view them here all. The colors red and pink are especially popular for Valentine's Day. This creates a beautiful, romantic look.
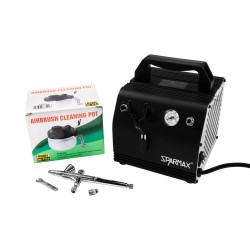
Another important factor when airbrushing on artificial nails is using the right materials. You need a good airbrush gun and a compressor. At ASAP Nails & Beauty it is here all available!
Finally: be creative with your designs! Think traditional Valentine's Day symbols like hearts, roses and cupids, but feel free to add your own style and create unique designs. With the right techniques, materials and creativity you can create beautiful airbrush designs on artificial nails.
Abstract® Ambassador Hilde Meers (@bellarte_nailstudio) has created a unique take on Valentine – Black Valentine. This theme contains the color black, processed with a subtle pink color that represents sophistication, elegance and timelessness. Would you like to know how Hilde used the airbrush technique to create loving nails? Then quickly read on under the photo!
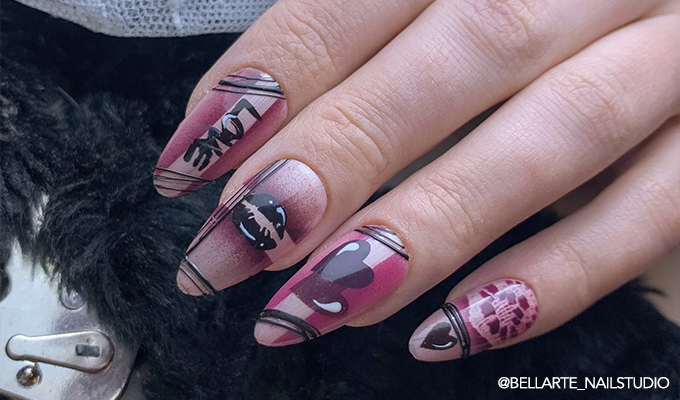
Step By Step: Pink
STEP 1
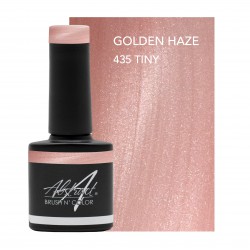
Use a Brush N' Color as a base color on the nail. In this case, Hilde used Golden Haze from the new valentine collection Love @ First Sight. Apply 1 layer and cure 60 sec in the LED lamp, then apply a 2nd layer and cure again for 60 sec. Then apply the top coat Matt Velvet, cure again for 60 sec.
STEP 2
Take a piece of lace and apply it over the nail, keeping it well stretched between thumb and forefinger before you start airbrushing.
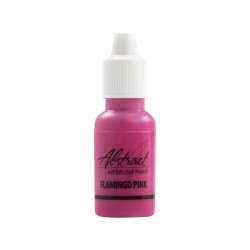
We always start with the lightest color for airbrushing first! First, put the pink airbrush paint - Flamingo Pink from Abstract® - in the funnel of your airbrush gun. First spray on a cloth or your glove before spraying on the piece of lace. This is to prevent you from spraying too much paint from your gun at once.
Then you start spraying carefully back and forth over the piece of lace so that you get a nice fading.
STEP 3
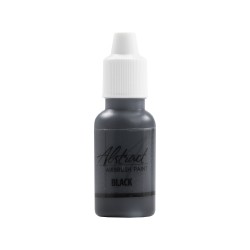
Then take one or two drops of the black airbrush paint - Black from Abstract® - in the funnel and spray again first on a cloth until you see that the black color appears and then carefully spray over the piece of lace again. Be careful! Black is a very intense color so it doesn't need much to further color the design. You should still be able to see the pink. Again, carefully and do not spray too close to the piece of lace. Then you can release the piece of lace and your design is on the nail.
STEP 4
To airbrush the heart we do this using a template. Apply the template with the heart to the place where you want to airbrush. Make sure it sticks well to the nail to get the sharpest possible design. You take the airbrush gun that still has black airbrush paint in it and spray the heart completely black. Don't spray too hard or you will end up with a very wet stain. Dose carefully while spraying. Then remove the template. To bring out the heart a little more, apply a white line with Brush N' Color Porcelain White.
STEP 5
First apply a thin protective layer over the airbrush design. Here Hilde has applied the Stick 2 Base to protect the design against wear. Then you apply a top coat. The Shield & Shine or Gloss & shine. Or if you prefer a matte finish you can use the Matt Velvet.
STEP 6
Finally, draw threads with the Abstract® Elastic Art Gel Black to finish it off. Cure for 60 seconds in the LED lamp. To remove the sticky from the Elastic Art Gel, take a wipe and remove with cleanser.
Check out the Instagram live below with Abstract® Ambassador Hilde Meers for other great designs!

Leave a Comment