08 Oct


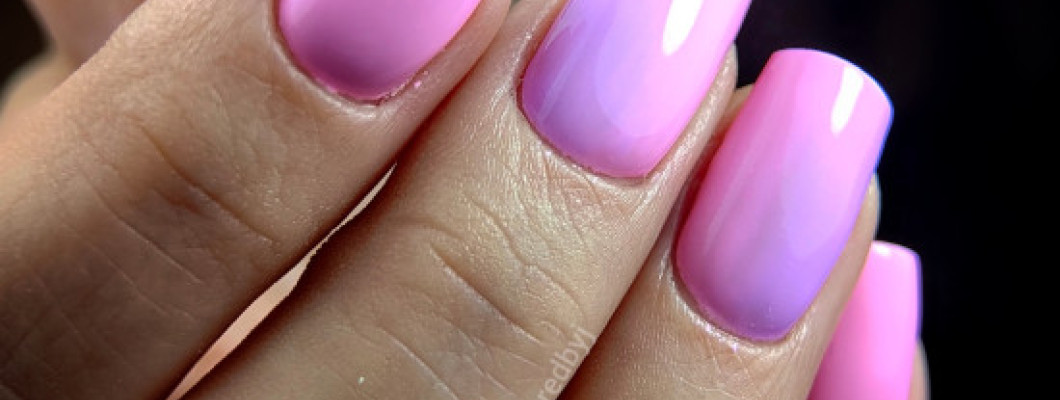
Dreaming of a beautiful ombré look? Follow this nail art tutorial and enjoy stunning nails!
- Step 1: Start with a finished (artificial) nail. Apply one color (for example, Shake Your Thang) vertically on one half of the nail using the brush from the bottle. On the other half, apply the other color. Make sure the colors just touch in the middle. Use a small amount of product so everything can cure properly. Also, make sure the colors are neatly applied near the cuticle. Do not cure yet.
- Step 2: Using the ombré brush, start at the cuticle. With short zigzag movements, blend the colors slightly over the middle line so they mix a bit. Continue to the free edge. Important: do not cure yet.
- Step 3: Wipe your ombré brush well. Then, brush vertically over the zigzag line from the previous step. Repeat a few times until the colors are nicely blended. Still, do not cure.
- Step 4: Wipe the brush. Continue with vertical strokes, but gradually move slightly left, then right, and back to create a smooth transition. Repeat as needed. Clean your brush regularly. Start with a clean brush each time in the middle. You will see the middle strip fade beautifully. You decide how wide this strip becomes by how far you move left/right. When satisfied, cure the nail for 60 seconds.
- Step 5: Repeat steps 1-4 until you are happy.
- Step 6: Finish with Shield & Shine top coat.
Pro tips:
- Top tip 1: Not 100% happy? Use one of the Shield & Sparkle top coats – a little glitter can hide small imperfections.
- Top tip 2: Use colors close to each other if you’re still mastering the technique.
For this nail art example, we used:
- Xpress Builder
- BNC Shake Your Thang
- BNC None of Your Business
- Ombre Brush size 6 or 8
- Top Gel Shield & Shine
This look was created by our Abstract Ambassador Joke Denolf (Instagram: @manicuredbyj).
Trying out this look? Don’t forget to tag us on your socials!


Leave a Comment